Indoor Plastering
“I can’t help but notice every wall when I enter a building. I can see what material has been used and how well the job has been carried out”.
Our Indoor Plastering Services :


-
Wet plastering, also known as traditional plastering, is a process of applying a mixture of sand, lime, and water to walls and ceilings to create a smooth, even surface. This method has been used for centuries and is valued for its durability and finish.
The process begins with preparing the surface, which may involve cleaning and dampening the walls to ensure proper adhesion. The plaster is then mixed to achieve the desired consistency, usually resembling a thick paste.
Plasterers apply the mixture in multiple layers. The first layer, called the scratch coat, is applied and then scored to create grooves for the subsequent layers to bond effectively. After this has cured, a second layer known as the brown coat is added, which helps to build up the surface. The final layer, known as the finish coat, is applied to achieve a smooth finish.
Wet plastering requires skill and experience, as the timing of application and finishing techniques are crucial for achieving a high-quality surface. The wet nature of the plaster means it remains workable for a limited time, necessitating swift application. Once applied, it usually takes several days to cure completely, depending on environmental conditions.
This method is particularly advantageous in terms of breathability, as it allows moisture to escape from the walls, reducing the risk of trapped moisture and related issues. Additionally, wet plaster can be finished in various textures, providing aesthetic flexibility for different interior styles.
-
Indoor lime plastering is a traditional method of finishing interior walls, employing lime-based materials that create a breathable and flexible surface. Lime plaster allows for moisture regulation within buildings, which can prevent issues such as damp and mould.
The process begins with surface preparation. Walls should be clean, stable, and free of old paint or loose material. If necessary, a scratch coat may be applied to create a suitable grip for the subsequent layers. Lime plaster is typically mixed from slaked lime, aggregate (such as sand), and water. The exact proportions depend on the desired finish and the type of lime used.
Once mixed, the plaster is applied using tools such as trowels and hawks. A standard three-coat system is often followed: a scratch coat, a float coat, and a finishing coat. The scratch coat is the first layer, which is applied directly to the prepared wall. It is scored lightly to provide a key for the next layer. After sufficient drying, the float coat is applied to build up thickness and smoothness, followed by the finishing coat that can be polished to achieve the desired texture and appearance.
Indoor lime plastering not only complements heritage properties but also provides a sustainable option for modern interior design.
-
Skimming in plastering refers to the process of applying a thin layer of plaster to walls or ceilings, effectively creating a smooth and even surface. This technique is often used to prepare surfaces for painting or wallpapering, improving both appearance and texture.
The skimming process typically involves the following steps:
Preparation: Before skimming, the surface must be clean and free from dust, grease, or flaking paint. In some cases, a bonding agent may be applied to enhance adhesion.
Mixing the Plaster: A suitable plaster mix is prepared, ensuring it has the right consistency. This is crucial for ease of application and achieving a smooth finish.
Application: Using a trowel, the plaster is applied over the prepared surface in two coats . It is important to apply it evenly, ensuring that each layer is consistent in thickness, usually around 2 mm, adding to a total of 3-5 mm.
Smoothing: After the initial application, the surface is smoothed out with a trowel. This step may involve several passes to reduce any imperfections and achieve the desired flatness.
Setting and Finishing: The plaster is left to set, during which it hardens and dries.
Skimming is commonly employed in renovation and new build projects where new or existing surfaces are damaged or uneven, allowing for a fresh and professional look. It is an essential skill for plasterers, contributing to the overall quality and aesthetics of interior spaces.
-
Plaster boarding, also known as dry lining, is a construction technique used primarily for creating internal walls and ceilings. It involves the use of plasterboard sheets, which are made of gypsum sandwiched between two sheets of thick paper or, in some cases, other materials. This method is favoured for its efficiency and ease of installation compared to traditional wet plastering.
To begin, the plasterboard is typically fixed to a framework made of timber or metal studding, and in some cases stuck to block walls using plasterboard adhesive. This framework provides support and shape for the walls and ceilings. Once the plasterboard sheets are positioned, joint tape is placed along every plasterboard joint where each board meets the next and thin coat angle beads are fixed to external corers where they appear, usually around widows.
Plaster boarding offers several advantages, including improved thermal insulation and soundproofing qualities. It is a popular choice for both residential and commercial settings due to its quick installation and the clean finish it provides. Additionally, it allows for flexibility in design and is compatible with a range of construction methodologies.
Overall, plasterboarding is an effective and versatile technique that has become a standard practice in modern building and renovation projects.
-
Stud and wall partitioning is a popular method used in both residential and commercial spaces to create defined areas without the need for extensive building works. This approach offers flexibility in design and functionality, allowing for easier modifications in the future.
Benefits of Stud and Wall Partitioning
Flexibility: Partitions can be easily reconfigured, making them suitable for evolving space requirements.
Cost-Effective: Compared to traditional brick or block walls, stud partitions usually require less material and labour, reducing overall costs.
Insulation: Depending on the materials used, these partitions can provide sound and thermal insulation, contributing to energy efficiency and privacy.
Speed of Installation: Stud walls can often be erected much faster than conventional walls, helping to minimise disruption in busy environments.
-
Artex removal is the process of taking off Artex, a textured coating used on ceilings and walls in British homes from the 1960s to the 1990s. It was popular for hiding flaws and adding decoration, but concerns about health risks, especially from asbestos, have driven many homeowners to remove it.
The removal process includes checking if Artex contains asbestos, which requires special handling. If asbestos is found, professionals must handle the removal for safety. If it is asbestos-free, homeowners can choose to do it themselves or hire professionals.
For DIY removal, the surface should be wet to reduce dust and make scraping easier. A flexible scraper or wide tool is then used to carefully remove the Artex. After removal, the surface may need preparation for re-plastering or painting.
-
Coving services refer to the installation and repair of coving, which is a concave moulding used at the junction of walls and ceilings in a room. This decorative feature serves both aesthetic and practical purposes. Coving can enhance the appearance of a space by softening the transition between surfaces and adding a sense of elegance.
We work with various materials, including plaster, polystyrene, and polyurethane. The choice of material can depend on factors such as the desired finish, budget, and the specific requirements of the project.
The installation process generally involves measuring and cutting the coving to fit the dimensions of the room, preparing the surfaces, and applying adhesive or plaster to secure the coving in place. Craftsmen ensure precise angles and neat joints, which contribute to a polished appearance.
-
Removing wallpaper can be a straightforward process if approached methodically. The room needs to be clean and power turned off before beginning.
There are multiple techniques that can be used to remove wallpaper such as scoring the wallpaper, applying removal solution, or using a steamer.
Afterwards, it’s important to remove the residue, wipe down the walls and make sure they are dry.
What Can Plastering Provide Your Property?
-
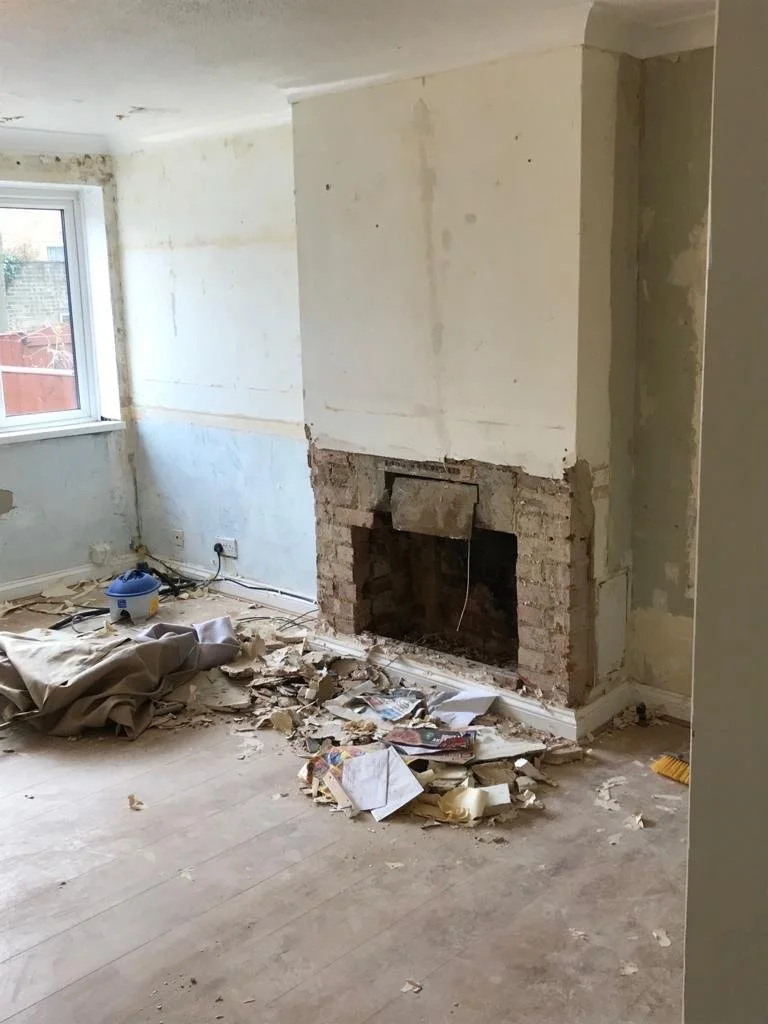
![Room under renovation with exposed brick fireplace, partially stripped walls, scattered debris, broom, and a cloth on the wooden floor. Waiting to be plastered.]()
Protection
Plastering provides protection from moisture, from mould, and from structural damage. Plastering creates resilience to natural wear and tear.
-
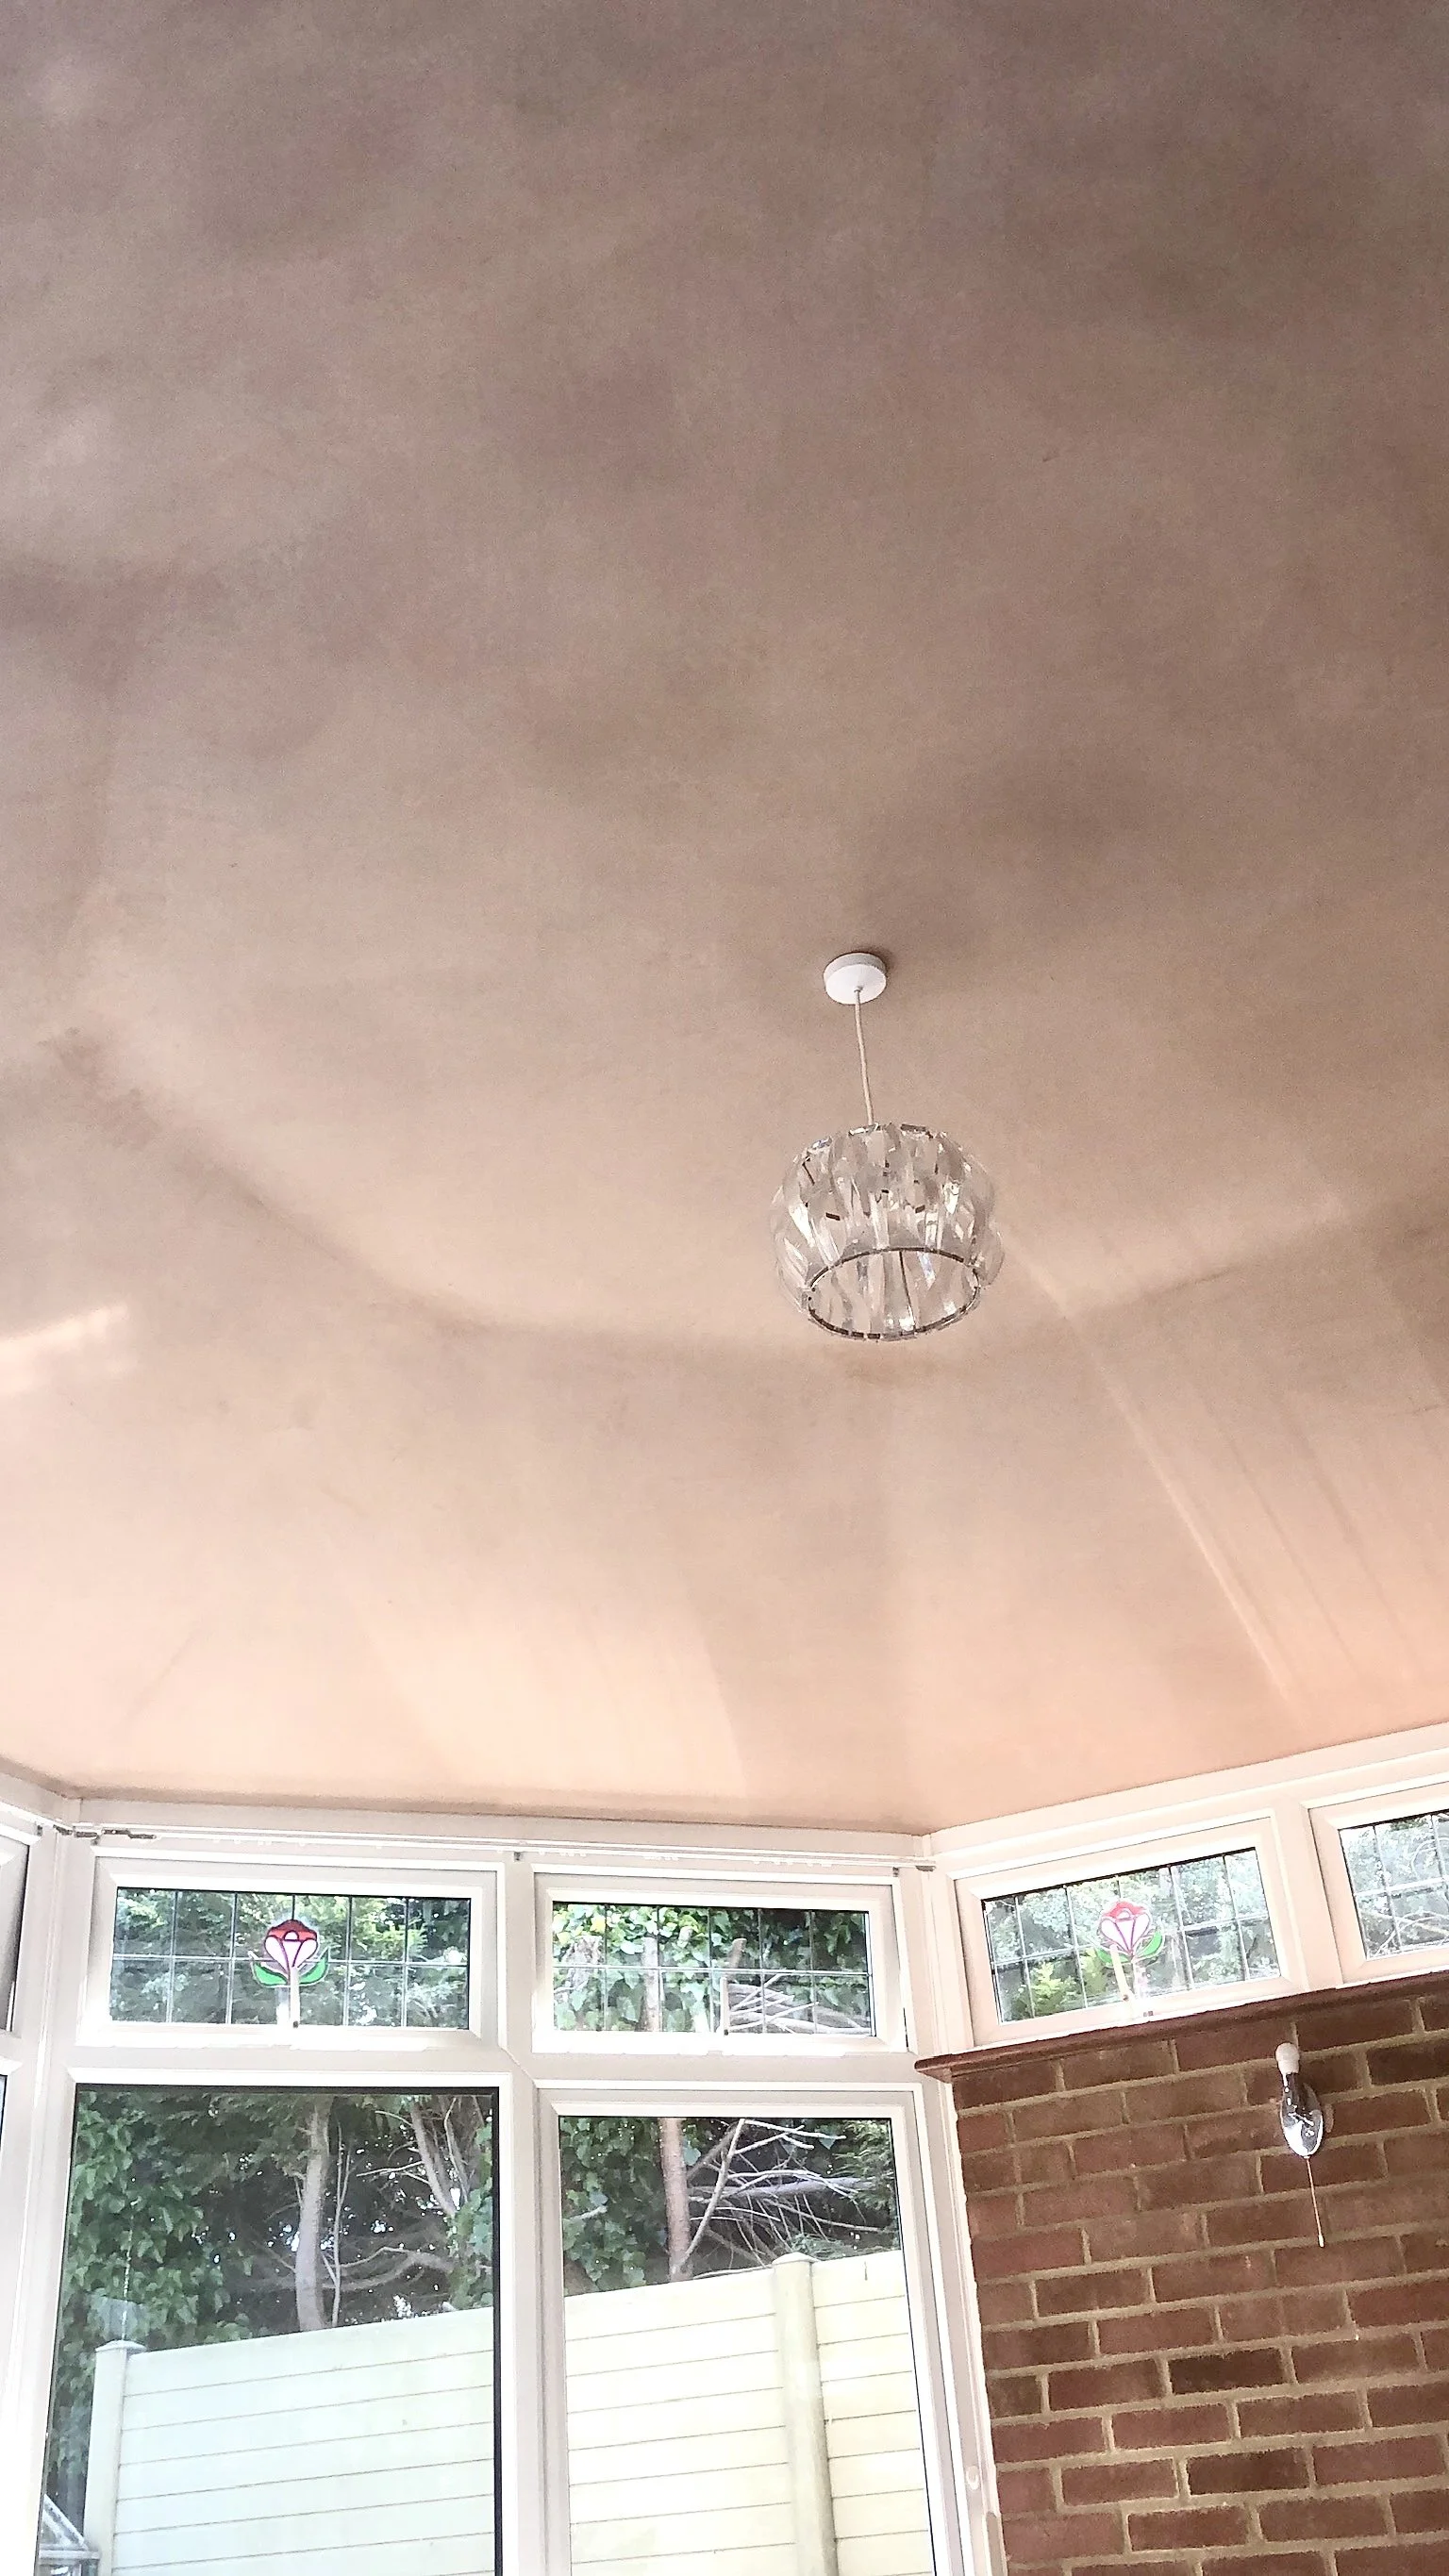
![Interior view of a room's ceiling fresh plastered with a brick wall, large windows, and a decorative ceiling light fixture.]()
Energy Efficiency
Plastering helps properties with their energy efficiency. It helps keep rooms cool in the summer and retain warmth in the winter. Contributing to comfort and energy costs.
-
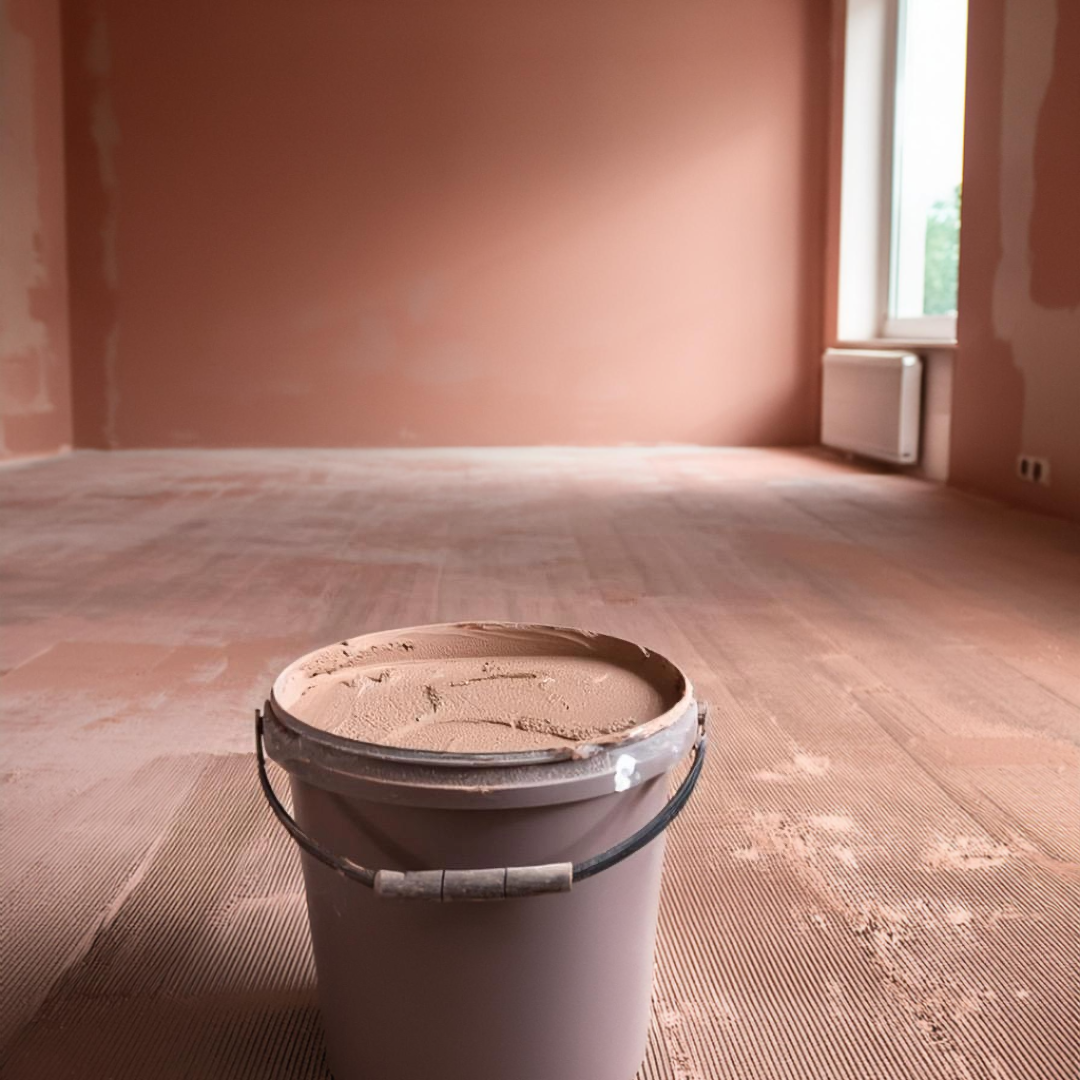
![Close-up of a metal plastering trowel with a wooden handle covered in thick, creamy brown plaster.]()
Decorative Enhancement
Plastering is the first step to transforming a living space, especially where walls have damage or need renovating. Plastering enhances painting, panelling and wallpapering.
-
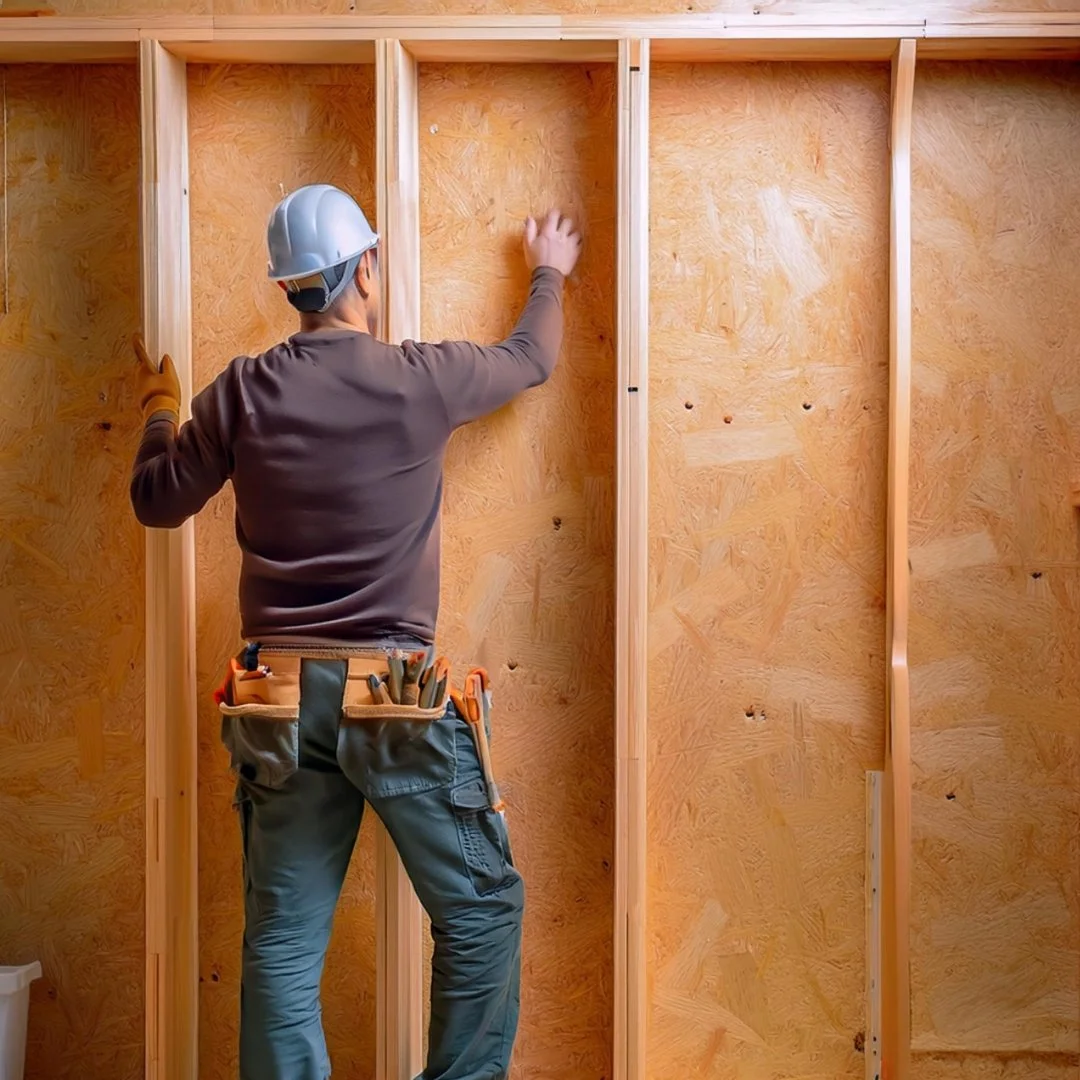
![Room with exposed wooden ceiling beams, hanging electrical wires, unfinished walls, a window with a view of greenery, and a radiator along one wall. Waiting to be boarded and plastered.]()
Sound Insulation
Plastering also impacts noise levels in properties. It contributes to a reduction of hearing noise from outside and from outside hearing noises from within.